Locking Clutches
I made a little more progress on my homemade telescope mounts this morning. I decided to drill and tap each of the axes on each of these mounts so I can add a clutch of sorts to each axis.
In this first photo, you can see both locking clutches on the equatorial mount. I drilled and tapped 1/4-20 holes on the edge of each axis. I can now add some friction to each axis or I can even lock down an axis.
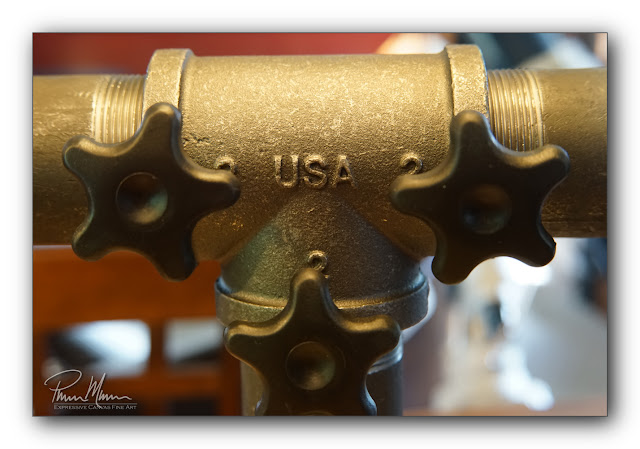
This next photo shows the three locking clutches on the dual telescope altitude-azimuth mount. Now I can control how much friction is applied to each of the axes.
Although it appears as though the 1/4-20 locking clutch makes direct contact with the threads on the axis, it does not. I have some heavy leather inside the hole I drilled so the leather is pressed down on the threads of the axis. This will protect the threads while applying enough pressure to have a useful clutch. If we had metal on metal, then the threads would quickly be ground down by the metal on metal friction.
These large black knobs will be easy to see against a white mount. This is one reason why I chose to paint the mounts white. Painting each mount white will probably be my last step so that I do not ruin the fresh white paint while continuing to work on the mounts.
My next task will be to lap the joints of each axis with a valve grinding compound. This will make each axis smoother and will allow for more travel around each axis.
I'm looking forward to being able to mount these telescope mounts on my newly designed permanent pier. They are coming along very nicely which is very satisfying!


Comments
Post a Comment