Locomotive Electronics
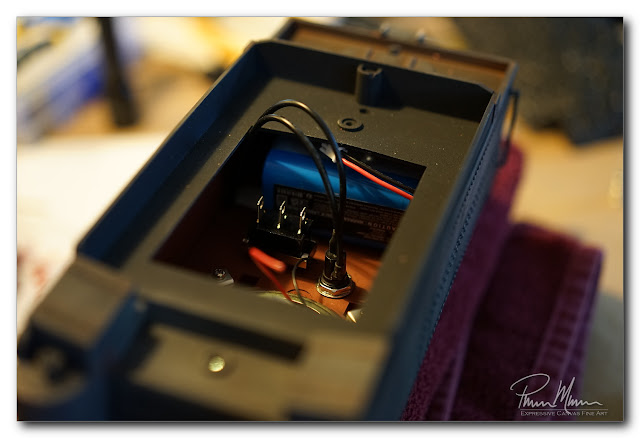
I 'm not feeling the greatest today so I opted to move to a different area of this locomotive project. I'm not feeling well enough to be making decisions on weathering so I decided that was out pretty early this morning. Anything requiring a judgement call is out of the question today so that eliminated any further weathering today. This meant it was time to start working on something that has a pretty firm plan like getting the tender ready for all the electronics. Fortunately, there is plenty of room inside this tender for everything I will be adding to it. This will make this conversion to battery power quite easy. First, I installed the big speaker for the sound. Then I installed the fuse-holder and the On-Off-On switch. Then I placed the battery inside the tender too to ensure I still have plenty of room for the DCC circuit board. This circuit board is shockingly small so I know I have plenty of room it is just a matter of where I will posi...