Macro Photography
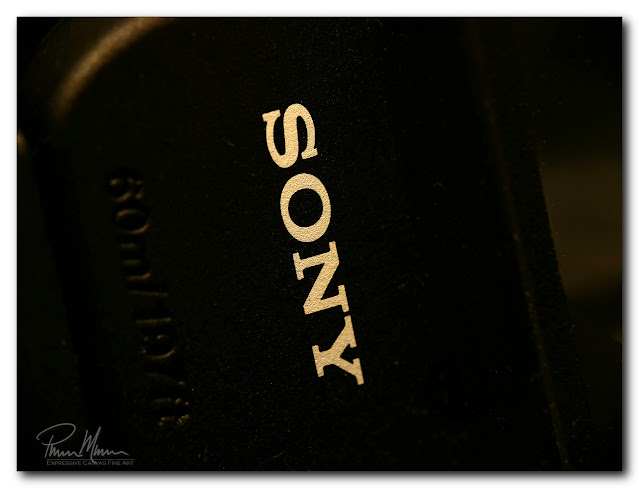
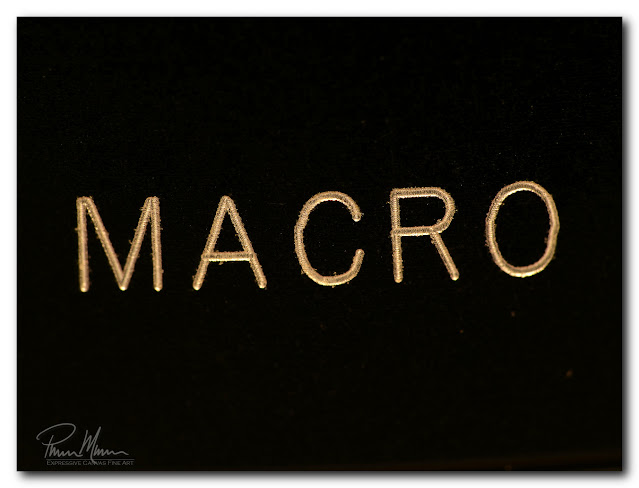
I haven't done any macro photography in a very long time... perhaps a couple of decades... so I tested some of my photography gear over the past few days to see what works best for macro photography when using some of my newer gear.
Although I have quite a bit of photography gear, I actually don't have any macro lenses. Macro lenses allow you to get closer to your subject due to the closer minimum focusing distances that macro lenses provide. I do, however, have some extension tubes which also can shrink the minimum focus distance which allows me to focus on objects that are much closer to the lens than without an extension tube.
Getting closer makes your subject appear larger in the frame (obvious, I know, but I had to mention it). Lenses oftentimes only allow you to get as close as three feet or so. With some lenses, you can only get as close as ten feet. It is difficult to get a close-up view at those distances so adding an extension tube to allow you to focus at much closer distances allows you to get bigger views. Getting closer to your subject is only part of what is needed for good macro photography though. You also need to magnify your view.
For adding magnification, you can add close-up filters to the front end of your lens. These filters are really just diopter lenses like are found in reading eyeglasses. I have found that using extension tubes behind the lens with a good quality close-up lens/filter mounted on the front of the lens makes for a pretty good macro set up.
Another issue is getting enough light. When you shoot at large magnifications, the depth of field gets very, very narrow. The depth of field is the slice of the scene, front to back, that is in focus. This depth of field gets so narrow in macro photography that even a tiny insect will have only a small portion of their body in focus!
As in any type of photography, closing down the aperture will provide a deeper depth of field but this comes at a cost of losing light. A smaller aperture (ie, a smaller hole) will only allow so much light to pass through. A larger aperture (ie, a larger hole) will allow more light to pass through. To get a deeper depth of field, you need to use smaller apertures which makes the image darker.
You need to keep the shutter speed up relatively high to avoid camera shake and to counter motion so slowing down the shutter speed isn't an option for getting more light. You can raise the ISO but this increases noise/grain which decreases sharpness. The next option is to add a softly diffused flash.
It just so happens that I already have flashes for all of my cameras. I just needed to figure out the best way to diffuse the light coming from the flash and to direct the light downward toward right in front of the lens. Longer lenses will block the light coming from the flash when your subject is so close to the lens so you need to get that light out in front of the lens while also diffusing it so it isn't so harsh.
I have a few flash light modifiers and I tried them all. I ended up liking a combination of diffusers. I have a pop-up flash diffuser and I have a flash. These two things were better than no diffuser but I still was getting a shadow from the front end of the lens. I added a homemade bounce card to the back of the flash that extended all the way to the macro diffuser. Then I added an amber flash diffuser on the flash itself. This was the best combination, by far. It provided a warm, diffused light which allowed me to use smaller apertures to get a deeper depth of field.
This first photo is a spring on the arm of my desk lamp that has a magnifying glass in it...


Comments
Post a Comment