Model Railroad Crossing Grades
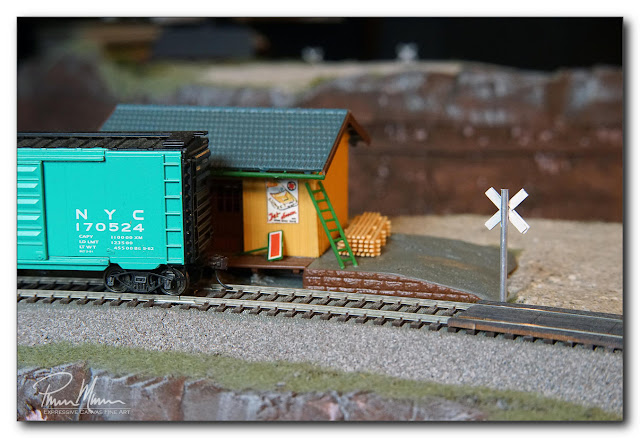
Lukey's train set is being improved little by little. That was the intention when I first built this HO scale train set for him. Every now and then, we would add something else to it. About a week ago, we added railroad grade crossing signs.
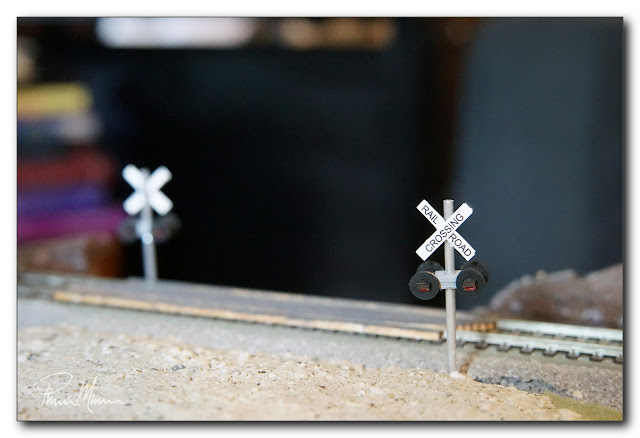
These buckboard crossing sign posts came as a laser-cut kit so there was a lot of work to be done to make them look like grade crossings!
We added these newly built buckboard grade crossing signs to the layout even though the actual road grades now need some adapting and attention. We now have some buckboard crossing signs without a road in a couple of places. Plus, even where there is a road, the road grade does not meet the track smoothly. Finishing up these road grades at the crossing will be a project for another day. Today's project was to assemble, paint and install the buckboard crossing signs...
I'm looking forward to Lukey and I finishing the road grade to meet the track on both sides of the track at these crossings. That will make a tremendous difference!
These little laser-cut crossing signs turned out nicely though. Better yet, Lukey gained a bit more experience in building and painting models! (And Papa got to brush-up on some of his modeling skills! Then again, I'm always up for a bit of model railroading.)


Comments
Post a Comment